
 0086-750-5616188
 +86 13392089688
 sales@zhongmei-tech.com
Creating a die casting mold is an intricate process that requires careful planning and attention to detail. The mold is a crucial component in the die casting process, as it determines the shape and quality of the final product. In this article, we will provide a step-by-step guide on how to create a die casting mold.
Step 1: Design the Part
The first step in creating a die casting mold is to design the part that you want to cast. This can be done using computer-aided design (CAD) software. The design should take into account the material that will be used for the casting, as well as any specific requirements for the part, such as size or shape.
Step 2: Choose the Material
The next step is to choose the material for the mold. The most common materials used for die casting molds are steel and aluminum. Steel is more durable and can withstand higher temperatures, while aluminum is lighter and easier to machine. The choice of material will depend on the specific requirements of the part and the casting process.
Step 3: Create the Mold
Once the design and material have been chosen, the mold can be created. This is typically done using CNC machining or wire EDM. CNC machining involves using a computer-controlled machine to cut the mold from a block of material. Wire EDM involves using a wire to cut the mold from a block of material. Both methods produce precise and accurate molds.
Step 4: Add Features
Once the mold has been created, it can be further refined by adding features such as ejector pins, cooling lines, and venting. Ejector pins are used to remove the part from the mold, while cooling lines are used to regulate the temperature of the mold during the casting process. Venting is used to allow air to escape from the mold during the casting process.

Step 5: Test the Mold
Before the mold can be used for casting, it must be tested to ensure that it is accurate and produces high-quality parts. This can be done using a test shot, which involves injecting a small amount of material into the mold and examining the resulting part. Any issues with the mold can be identified and addressed before it is used for full-scale production.
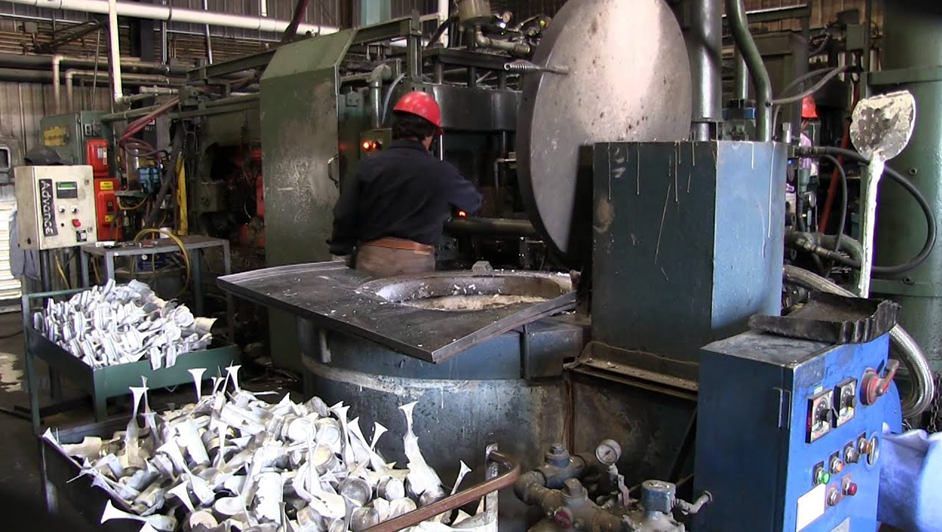
Step 6: Start Production
Once the mold has been tested and any issues have been addressed, it can be used for full-scale production. The die casting process involves injecting molten material into the mold, allowing it to cool and solidify, and then ejecting the finished part from the mold. The mold can be used to produce thousands or even millions of parts, depending on the specific requirements of the project.
Creating a die casting mold is a complex process that requires skill and expertise. By following these steps, you can create a high-quality die casting mold that produces accurate and consistent parts. Whether you are creating a single prototype or producing millions of parts, a well-designed and properly tested mold is essential for success in the die casting industry.


-

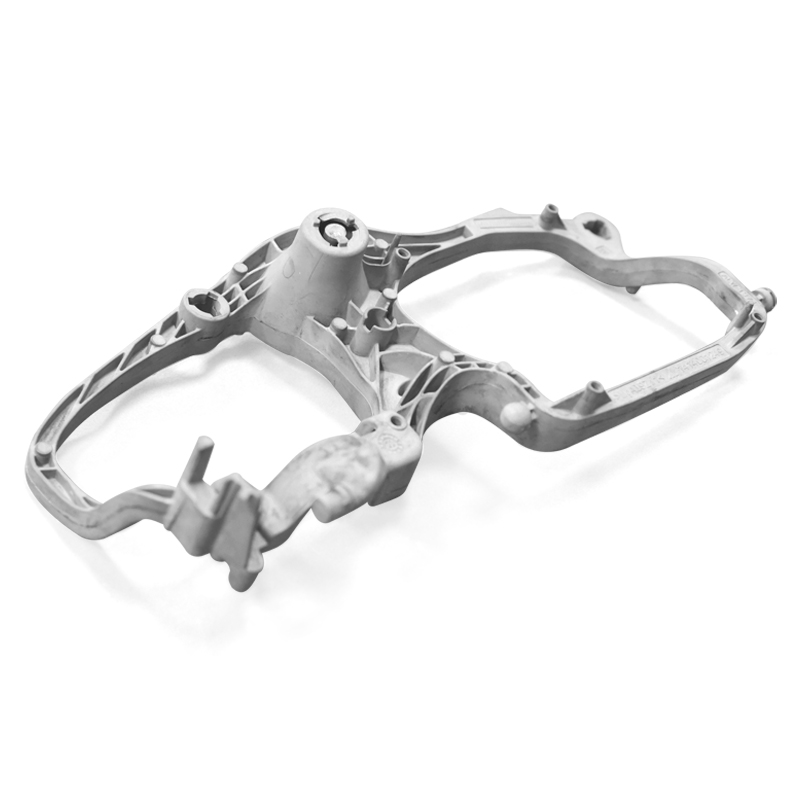
- Kućište kontrolera auto dijelova od legure magnezija
-

- Komponente za tiksom kalupljenje od legure magnezijuma
-

- Visoko precizni dijelovi za livenje pod pritiskom od legure magnezija za automobilsku bravu za paljenje
-

- Bicikli za djecu Dječji bicikli za djecu od 3-16 godina /OEM Baby Dječji biciklistički dječji planinski bicikli 2022.
-

- Magnesium alloy die-casting Auto parts RDM housing
-

- Prilagođeni ljevaonički proizvodi komponente e-bicikla od magnezijske legure